iOS SDK Guide
This guide describes the steps to integrate the Collector framework into your iOS application.
Requirements
before starting the integration, ensure you have:
- Access to the xcframework framework
Integration Steps
You'll recieve zip file containing the Swift Package. Complete the following steps to import the framework into your Xcode project:
- Download the .zip which contains Collector Framework
- Unzip the contents of the zip file
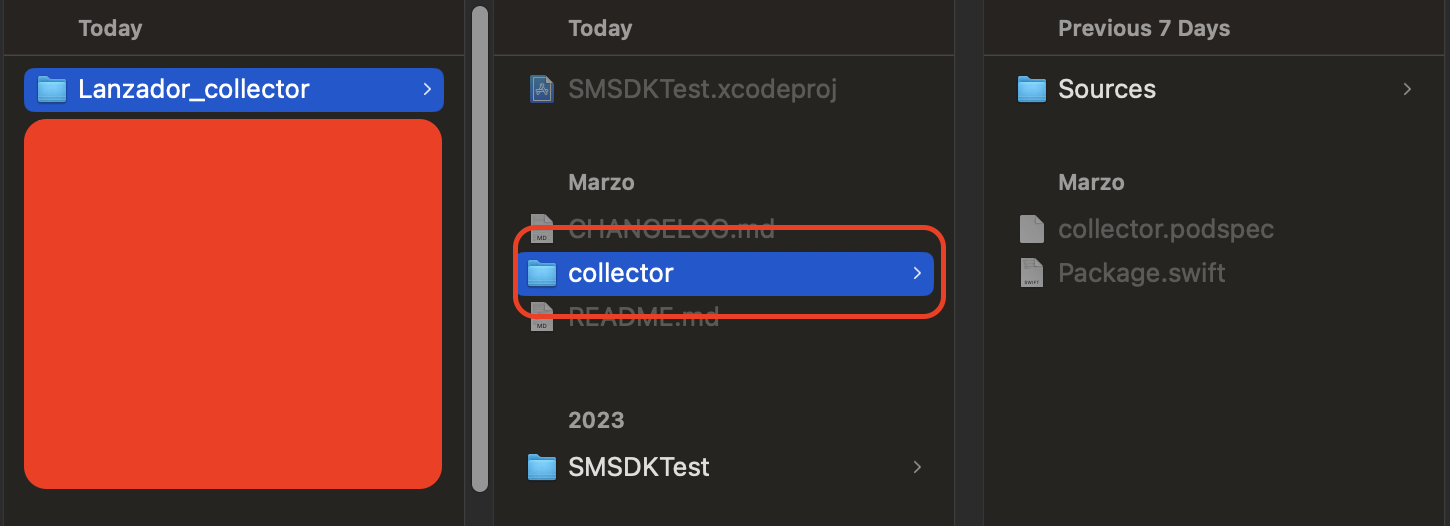
- Move "Collector" folder inside your project. Place it as illustrated below.
Next steps:
-
Open your project in XCode
-
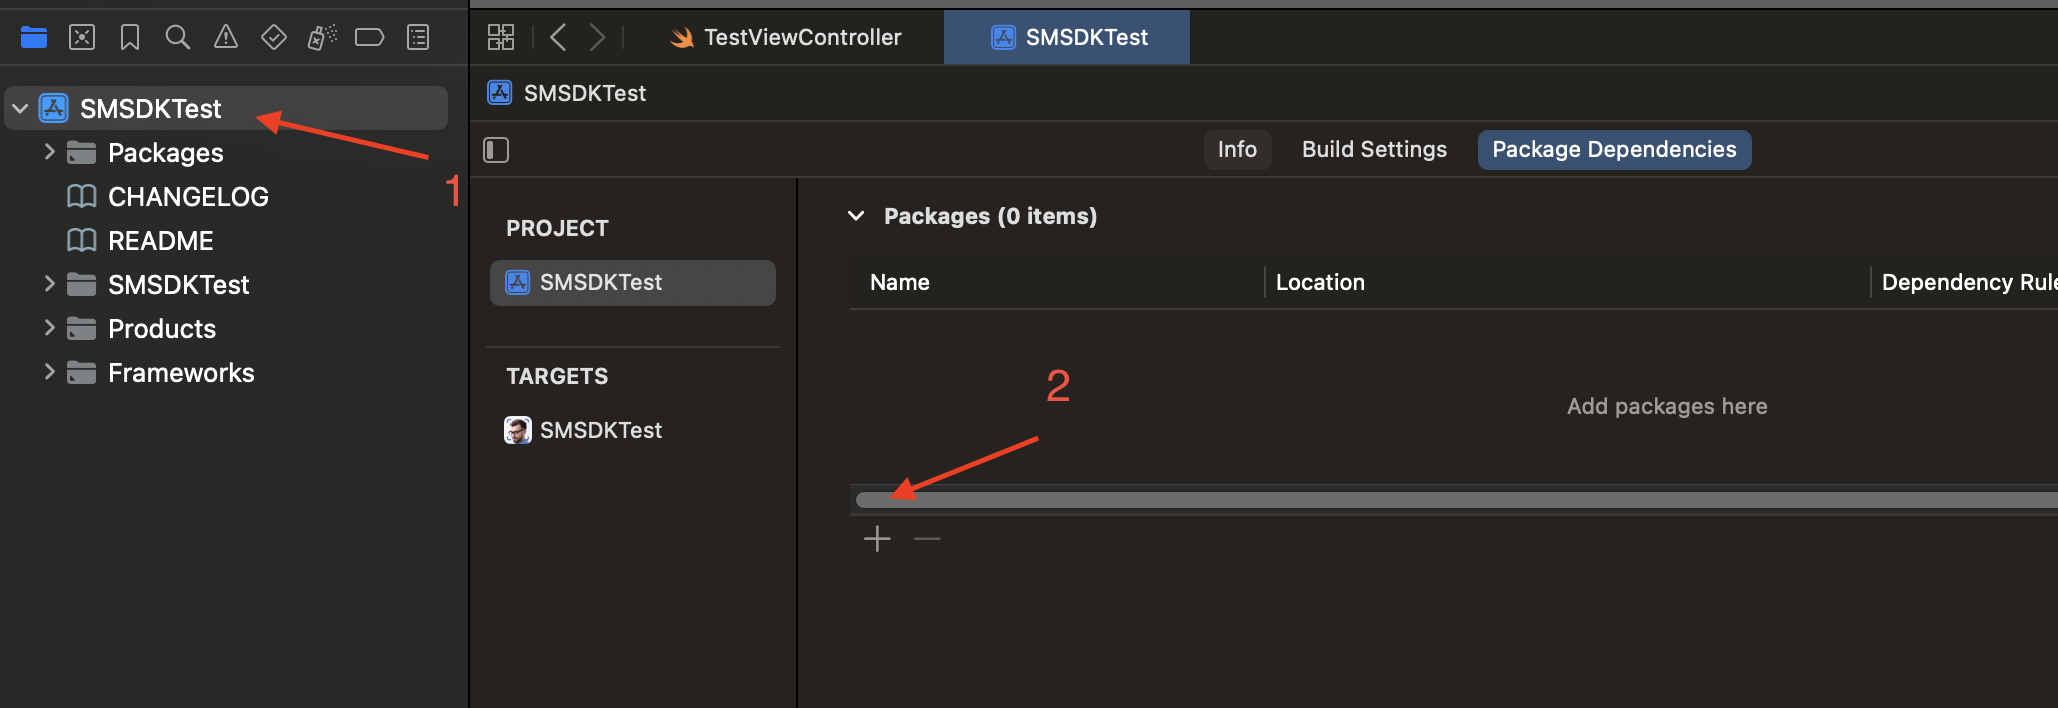
Select Project, Open Project Settings, Switch to Package Dependencies & Click add (+) (as illustrated below)
-
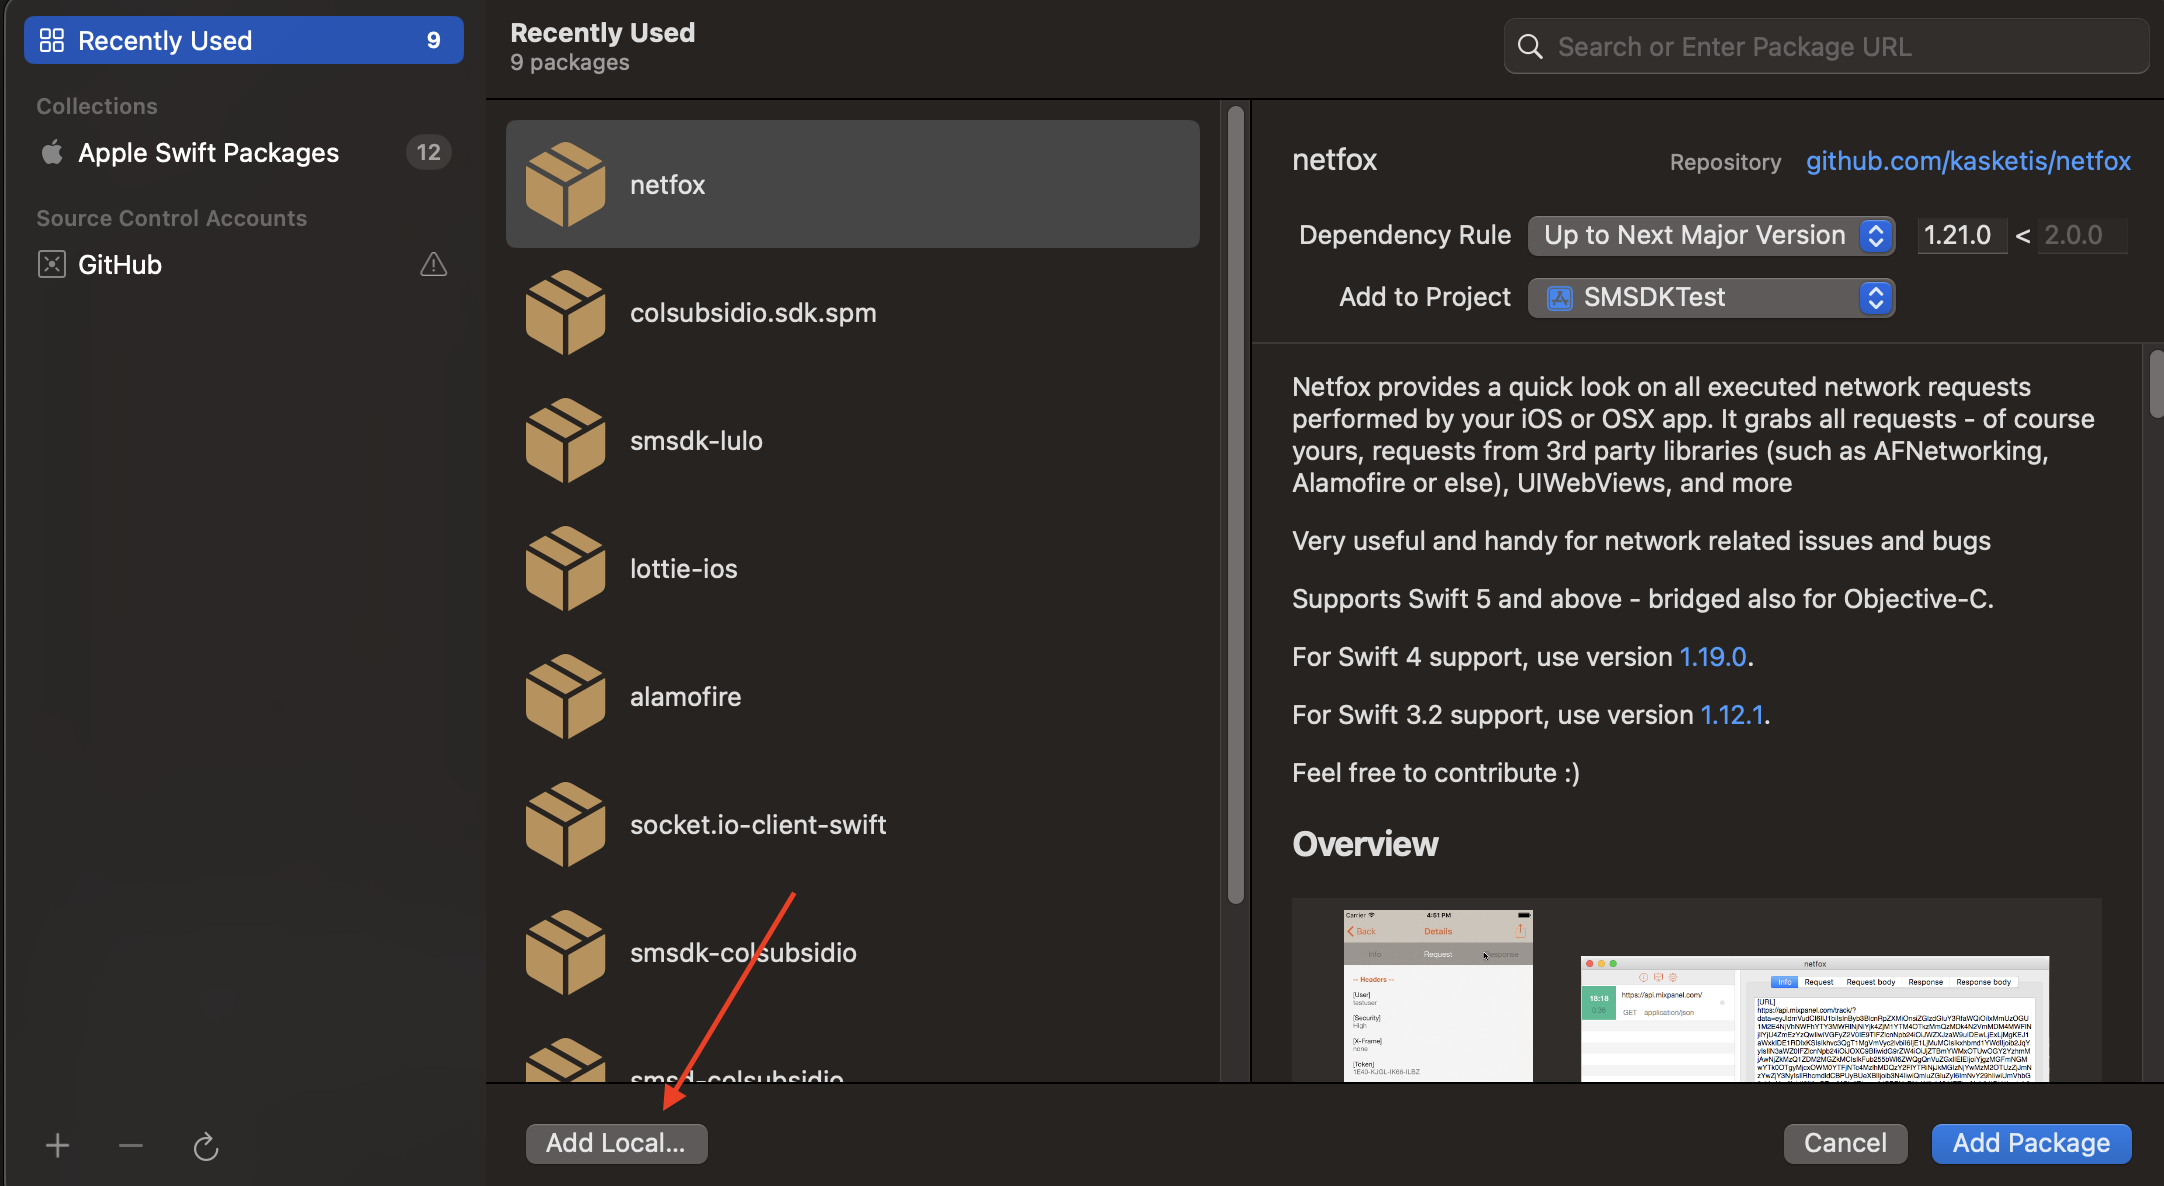
Click "Add Local" (Image below).

-
Select the package that you just moved to your project (Image below).
-
Now, Select all packages & select Target in which you wish to add those packages
-
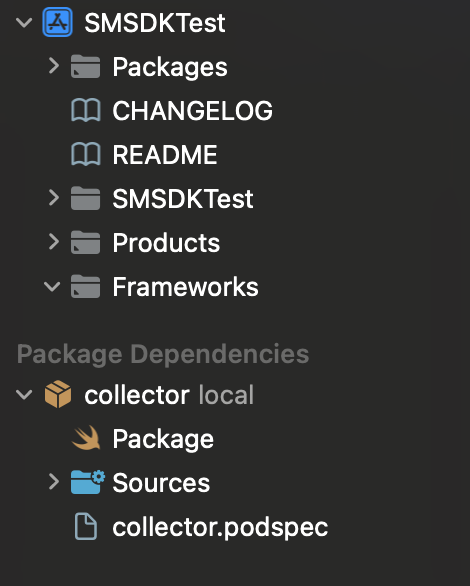
After import you should see the "collector" in the project structure. (Image below)


Linking and Embedding the SDK Framework
Ensure that the dependency is available to your application, Open Project settings, select target, switch to General Tab & make sure that dependency is added as illustrated below.
Application code
The general collector allows for using the camera along with some sensor collecting.
You can start listening and collecting sensor events like this:
import collector

Collector.shared.initialize(cid: cid, baseUrl: baseUrl, csid: csid, userID: username)
Collector.shared.startListeningToEvents()
Collector.shared.collect()
cid = Customer Specific Identifier. This identifier will be provided by IronVest baseUrl = This baseUrl will be provided by IronVest
csid = Customer Session Identifier. Usually it's a unique session identifier for each user session. This is the identifier by which the session can be queried during validation or looked for in the dashboard
userID = Unique User Identifier.
Full example implementation
Below is an example HTML structure that demonstrates how to configure the SDK in your web application. This example includes links to the SDK and assets, configuration entries and the emit context button.
import UIKit
import collector

class TestViewController: UIViewController, UITextFieldDelegate {

    @IBOutlet weak var context: UITextField!
    @IBOutlet weak var customerId: UITextField!
    @IBOutlet weak var userId: UITextField!

    override func viewDidLoad() {
        super.viewDidLoad()
        context.delegate = self
        customerId.delegate = self
        userId.delegate = self

    }

    func sendContext(context: String) {
        Collector.shared.sendContext(context: context)
    }
    func initCollector(cid: String, baseUrl: String, csid: String, userID: String) {
        Collector.shared.initialize(cid: cid, baseUrl: baseUrl, csid: csid, userID: userID) {}
          Collector.shared.startListeningToEvents()
          Collector.shared.collect()
        }
    }

    func textFieldShouldReturn(_ textField: UITextField) -> Bool {
        textField.resignFirstResponder()
        return true
    }

    @IBAction func citizenshipIDAction(_ sender: UIButton) {
        initCollector(
            cid: "test-ado",
            baseUrl: "https://bom.stats-qa.ado-tech.com",
            csid: customerId.text ?? "",
            userID: userId.text ?? ""
        )
    }

    @IBAction func identityCardAction(_ sender: UIButton) {
        sendContext(context: context.text ?? "")
    }

}